Lighting Solutions Every YouTuber Should Know About: The Secret Sauce to Stunning Videos
Lighting—it’s the secret sauce that transforms your YouTube videos from “meh” to mesmerizing. If you’re a creator who wants to stand out in a sea of content, you need more than just a good camera and sharp editing skills. You need great lighting. It’s what makes your face pop, your colors rich, and your entire production look professional—regardless of whether you’re vlogging, streaming, unboxing, or teaching.
But what exactly goes into great lighting for YouTube videos? What solutions do top creators use, and how can you get pro-quality lighting without spending a fortune? In this guide, we’ll answer all your burning questions and more. Ready to make your channel shine? Let’s dive in!
Why Lighting Matters More Than You Think
You might think that content is king (and it is), but lighting is the crown. Poor lighting can make your videos look flat, grainy, and unprofessional—even if you have a top-tier camera. Great lighting, on the other hand, can:
- Highlight your subject (that’s you!).
- Enhance skin tones and colors.
- Set the mood and atmosphere.
- Minimize distractions (like harsh shadows or blown-out highlights).
- Keep viewers watching longer.
Let’s be honest—no one likes watching a dim, shadowy video. If your viewers can’t see you clearly, they’ll click away fast. You want your audience to feel like they’re right there with you, hanging on every word.
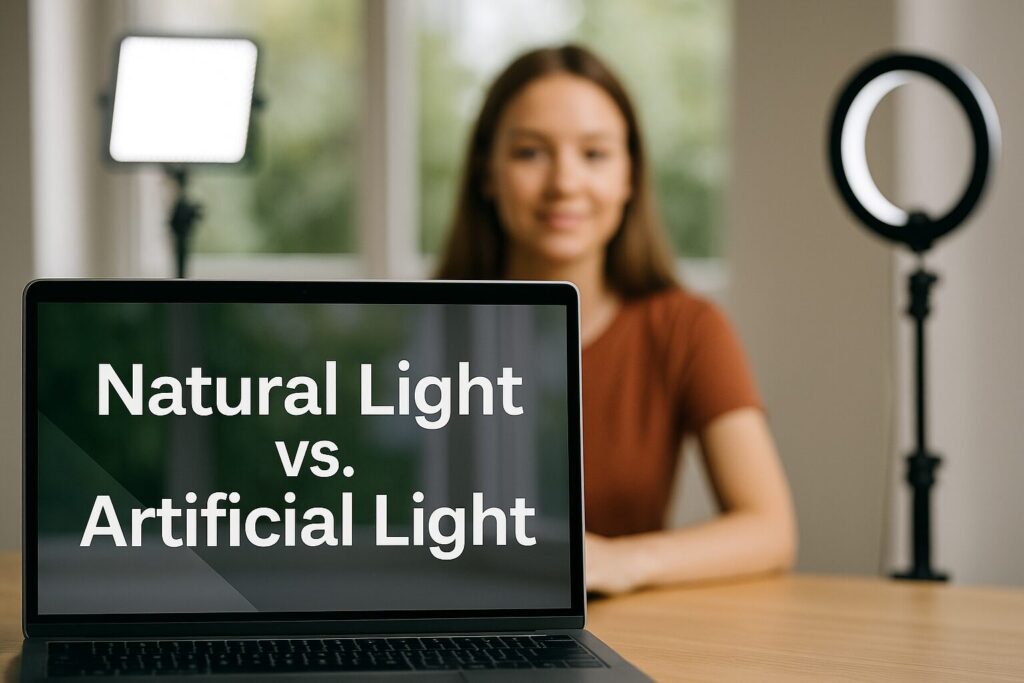
Natural Light: Your Free, Flattering Friend
The Pros and Cons
Natural sunlight is a YouTuber’s dream. It’s soft, it’s flattering, and best of all—it’s free! Many beauty vloggers, lifestyle creators, and even tech reviewers swear by it. Simply facing a window can instantly improve your video’s look.
But here’s the catch: natural light is unpredictable. One minute you have beautiful soft rays, the next a cloud rolls in or the sun glares directly at your face. Filming at the mercy of the weather or time of day can be frustrating.
Pro Tips for Using Natural Light
- Face the window: Sit or stand so the natural light falls directly on your face.
- Avoid backlighting: Don’t position the window behind you, unless you want a dramatic silhouette.
- Use white reflectors: A plain white poster board or sheet can bounce light and reduce shadows.
Example:
Sarah, a beauty vlogger, schedules her shoots in the morning when sunlight is soft. She faces a large window and uses a $5 white foam board to reflect light onto the darker side of her face.
Artificial Lighting: Consistency On Demand
If you want to film whenever you want—day or night—artificial lighting is your new best friend. With so many options out there, it’s easy to get overwhelmed. Let’s break down the most popular choices for YouTubers.
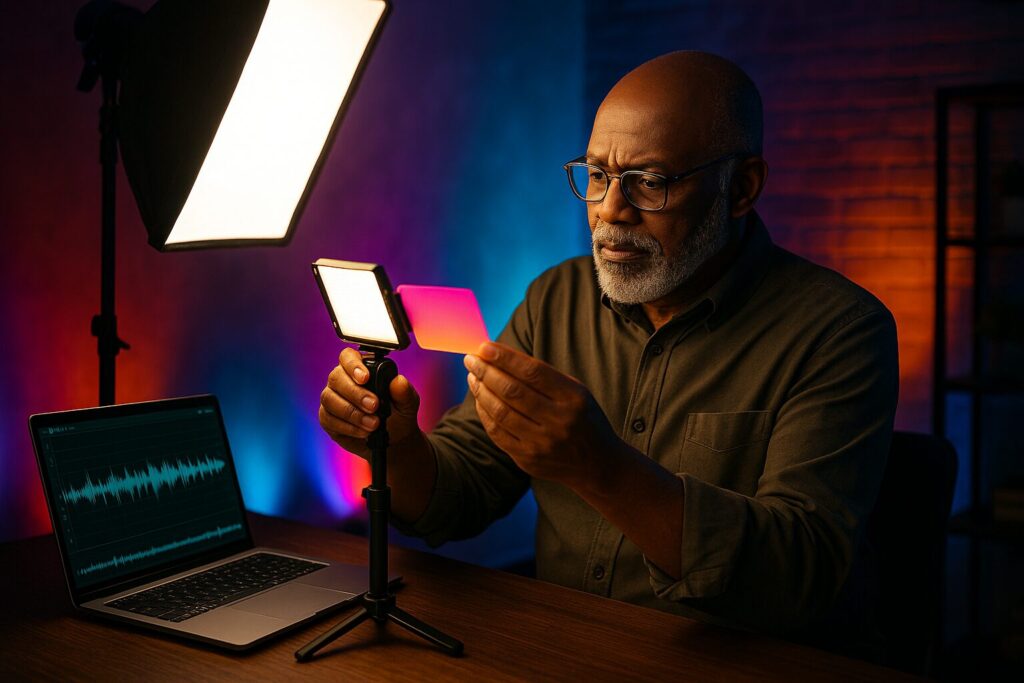
LED Panels: The Swiss Army Knife
LED panels are versatile, energy-efficient, and available in various sizes. They’re cool to the touch (no sweating under hot lights) and often come with adjustable brightness and color temperature.
Why YouTubers Love LED Panels:
- Compact and lightweight.
- Easy to set up and adjust.
- Can mount on a tripod, desk, or camera.
Popular example:
The Neewer 660 LED Video Light is a favorite among creators for its affordability, flexibility, and brightness control.
Ring Lights: The Beauty Guru’s Secret
If you’ve ever watched a makeup tutorial, you’ve seen the iconic ring light catchlights—those circular reflections in the eyes. Ring lights provide even, shadow-free light that makes skin look flawless. They’re especially popular for beauty, fashion, and reaction videos.
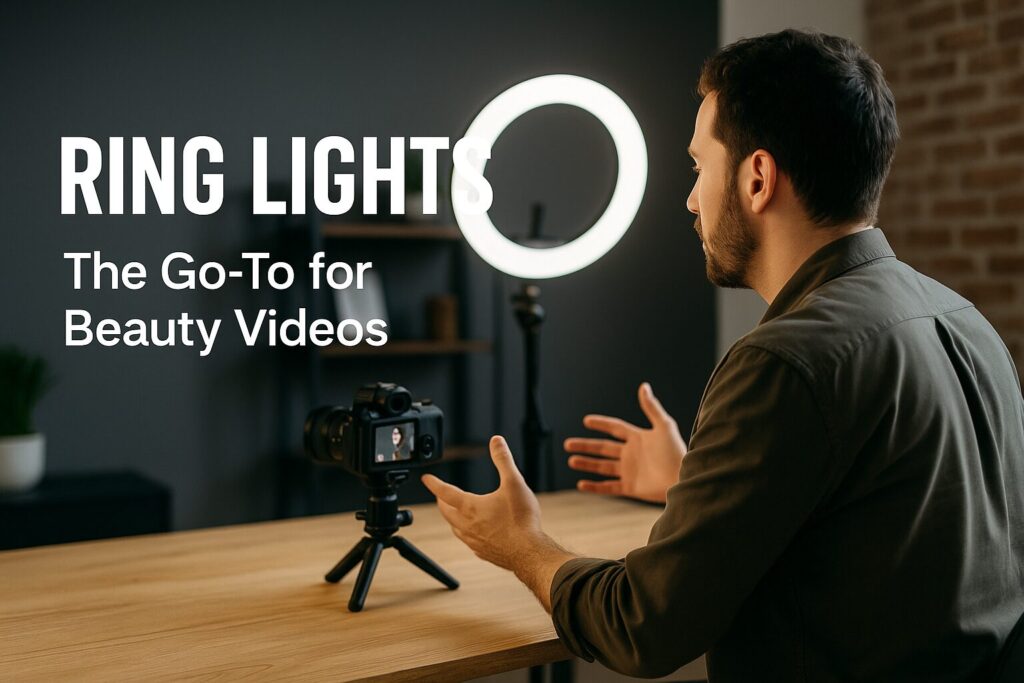
Ring Light Benefits:
- Soft, uniform light distribution.
- Diminishes shadows on the face.
- Doubles as a phone/camera holder for easy selfies or video calls.
Popular example:
The Diva Ring Light Super Nova is a YouTube staple, but you can find budget-friendly versions on Amazon.
Softboxes: Soft and Professional
A softbox diffuses harsh light, creating a gentle, studio-quality effect. They’re perfect for interviews, talking-head videos, or any setup where you want flattering light.
Softbox Advantages:
- Reduces harsh shadows.
- Creates a natural look, similar to daylight.
- Ideal for multi-light setups.
Example setup:
Place two softboxes at 45-degree angles to your face (the classic “3-point lighting” style—more on that later).
Budget Lighting: Great Results Without Breaking the Bank
Not ready to splurge? No problem! There are plenty of affordable lighting solutions that’ll up your game:
- Clamp lights: Available at hardware stores, paired with daylight LED bulbs.
- DIY diffusers: Use parchment paper or a white shower curtain to soften light.
- Fairy lights: Add ambiance or bokeh effects behind you.
- Reflectors: Bounce light using white foam boards or even aluminum foil.
Example:
Tom, a gaming YouTuber, uses two $15 desk lamps with white bulbs and DIY diffusers made from baking parchment for a soft, professional look.
Color Temperature: Set the Mood, Tell the Story
What Is Color Temperature?
Color temperature (measured in Kelvin, K) affects the warmth or coolness of your lighting:
- Warm light (3200K): Cozy, inviting—think sunset or indoor lamp.
- Neutral daylight (5600K): Bright and clean—ideal for most video content.
- Cool light (6500K+): Crisp, modern—great for tech, gaming, or high-energy vibes.
Why It Matters
The wrong color temperature can make your video look unnatural. Mix and match warm and cool lights to add depth, separate your subject from the background, or evoke a certain mood.
Example:
Lifestyle creator Lisa uses a 5600K LED panel as her key light but adds a 3200K bulb behind her for a warm, homey background.
Light Placement: The Secret to Flattering Shots
Lighting isn’t just about what kind of light you use, but where you put it.
The Classic 3-Point Lighting Setup
Want to look like a pro? Use the 3-point lighting rule. This technique gives you depth and keeps shadows under control.

Here’s how it works:
- Key Light: Main source, angled at 45° to your face.
- Fill Light: Softer, opposite side to reduce shadows.
- Back Light (or Hair Light): Behind you, separates you from the background.
Pro Tip: If you don’t have three lights, a window can act as your key light, and a reflector or cheap lamp can serve as fill.
Creative Lighting: Stand Out With Style
Want your channel to be instantly recognizable? Play with creative lighting:
- Colored gels or RGB lights: Add splashes of color to your background.
- Practical lights: Show lamps, neon signs, or fairy lights in the frame for personality.
- Shadow play: Use blinds, plants, or textured objects to cast interesting shadows.
Example:
Tech YouTuber Alex uses an RGB LED strip behind his monitor to add a cool blue glow, making his setup unique.
Common Lighting Mistakes (And How to Fix Them)
Don’t fall for these pitfalls:
- Uneven lighting: Causes one side of your face to look harsh or shadowy.
- Mixed color temperatures: Makes skin look strange. Stick to all warm or all cool unless you’re intentionally mixing for style.
- Backlighting without a fill: Makes your face too dark.
Quick Fix:
Always check your camera’s preview screen. Adjust angles, brightness, and white balance until everything looks just right.
Influencer Secrets: What Lighting Do Most YouTubers Use?
You’ve probably wondered, what do top influencers and YouTubers actually use for lighting?
Most Popular Lighting Choices:
- LED panels and softboxes for talking-head videos.
- Ring lights for beauty, lifestyle, or front-facing content.
- RGB lights for backgrounds and unique effects.
Pro Upgrades as You Grow
Once your channel gains traction, consider:
- Multiple light setups for control and flexibility.
- Smart lights (like Philips Hue) for easy color changes.
- Portable lighting for vlogging on the go.
Example Lighting Setups by Niche
1. Beauty/Makeup Tutorials:
Large ring light in front, small LED panel as fill, fairy lights in background.
2. Tech Reviews:
Two LED panels at 45-degree angles, RGB strip for background.
3. Cooking Shows:
Softboxes overhead, fill light at counter level, daylight bulbs.
4. Gaming/Streaming:
LED key light, RGB backlighting, practical lamps in frame.
FAQs: Quick Answers to Top YouTuber Lighting Questions
Q: What lighting do most YouTubers use?
A: LED panels, softboxes, and ring lights are the top choices, often combined with RGB background lighting for style.
Q: How do YouTubers get good lighting?
A: By using a consistent setup (artificial lights), positioning lights to minimize shadows, and matching color temperatures.
Q: What is the 3 lighting rule?
A: The “3-point lighting” setup—key light, fill light, and back light—to evenly illuminate your subject and create depth.
Q: What do influencers use for lighting?
A: Influencers often use ring lights for face-forward content and LED panels or softboxes for general videos. Many add RGB accent lights for personality.
Final Thoughts: Let Your Channel Shine
Lighting is more than just a technical detail—it’s a creative tool that shapes your channel’s identity. Whether you’re just starting or looking to upgrade, there’s a solution that fits your budget and style.
Here’s your action plan:
- Assess your space: Try natural light, then experiment with LED panels or a ring light.
- Master placement: Test different angles until you find what flatters you best.
- Set the mood: Play with color temperature and background lights.
- Keep growing: As your skills and channel grow, don’t be afraid to invest in better gear.
The next time you hit record, remember—lighting isn’t just for pros. It’s for anyone who wants their videos to shine.
Ready to level up your YouTube lighting? Share your setup or questions in the comments below! And don’t forget to subscribe for more pro tips on video production, gear, and channel growth. Let’s light up your YouTube journey together!

Larry Mac
Hi there, and thanks for stopping by! My name is Larry, and I’m the voice behind 6fig.com. I search the Internet to try and find Money making opportunities to share.. Thanks for stopping by, feel free to subscribe and comment. Thank You!
You Got This, I Learned these skills and More at Wealthy Affiliate. Hey if this 65 year old Grandfather can make money online, you can too!
This website got me on the path to making money online! Click Here to Start!