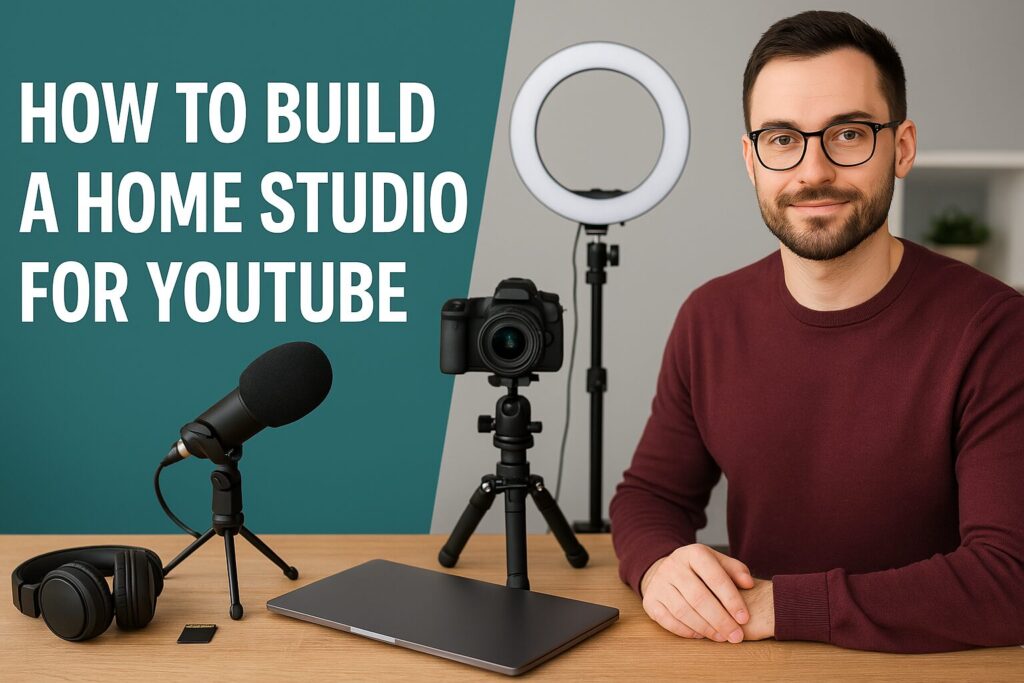
🎥 The Ultimate Guide: How To Build A Home Studio For YouTube (Essential Equipment Included)
Creating YouTube content isn’t just about hitting “record”—it’s about setting the stage for high-quality, consistent, and engaging videos. Whether you’re building a tutorial channel, filming product reviews, or sharing your story through vlogs, having a dedicated home studio gives your content the professional edge that today’s viewers expect.
This guide walks you through how to build a YouTube studio at home, complete with essential equipment, smart tips, and budget-friendly hacks so you can hit the ground running.
📍 Step 1: Choose the Right Location for Your Home Studio
Before buying any gear, take a look around your home. You don’t need an entire room—a quiet corner can work wonders.
What to Look For:
- Low ambient noise: Choose a spot away from traffic, pets, and household chaos.
- Good lighting access: Natural light is a bonus, but not a requirement.
- Control: You want to control the look and sound of your environment.
Set your space up like a mini production zone. Even a small desk with a clean wall or some creative props behind you can become a great shooting space.
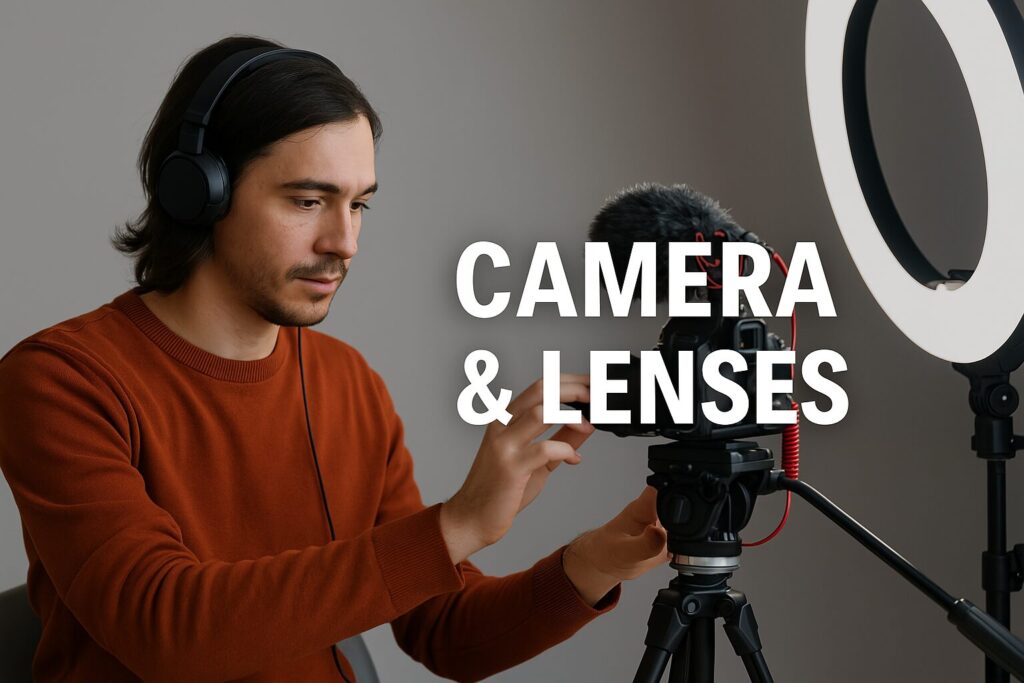
📸 Step 2: Start with a Quality Camera
When it comes to cameras, clarity is key. Fortunately, you don’t need a huge budget to shoot crisp, high-quality footage.
Beginner-Friendly Camera Options:
- Smartphones: iPhone 12+, Google Pixel 6+, or Samsung Galaxy S21+ can shoot 4K.
- Sony ZV-1: Compact, user-friendly, and ideal for creators.
- Canon EOS M50 Mark II: Mirrorless camera with excellent autofocus and audio input.
🎯 Pro Tip: If your budget is tight, start with your smartphone and upgrade later as your channel grows.
🎙️ Step 3: Invest in Great Audio (It Matters More Than You Think)
Most viewers can forgive slightly grainy video, but bad audio will make them click away fast.
Best Microphone Types:
- USB Microphones (e.g., Blue Yeti): Great for voiceovers or desktop setups.
- Shotgun Mics (e.g., Rode VideoMic): Ideal for camera-mounted use.
- Lavalier Mics: Clip-on and discreet—perfect for talking-head videos.
Don’t forget a pop filter, mic stand, or boom arm to keep things tidy and clear. Also, consider placing rugs or foam panels nearby to reduce echo and improve sound quality.
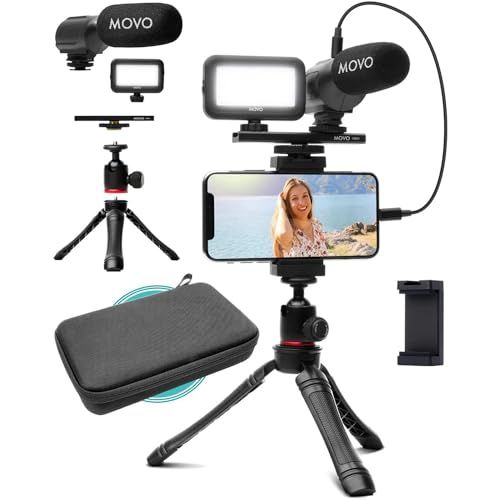
Vlogger Equipment
Tripod Stand
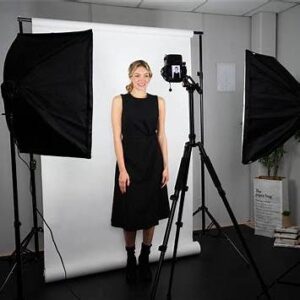
💡 Step 4: Light It Right
Lighting can completely change the mood, clarity, and appeal of your video. You don’t need a Hollywood rig—just a few well-placed lights.
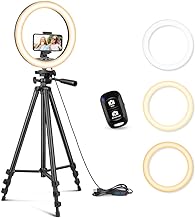
Popular Lighting Options:
- Ring Light: Perfect for talking directly into the camera.
- Softbox Lighting Kits: Great for even lighting in indoor spaces.
- LED Panel Lights: Compact, adjustable, and versatile.
🎯 Pro Tip: Use the “three-point lighting setup”—key light, fill light, and backlight—for a balanced, professional look.
🎬 Step 5: Set the Scene with a Thoughtful Backdrop
Your background speaks volumes about your brand, personality, and attention to detail.
Backdrop Ideas:
- Clean, neutral-colored wall
- Shelf with books, awards, or relevant props
- Green screen for changing virtual backgrounds
- Soundproof foam for both audio and visual appeal
Whatever you use, make sure it’s tidy, consistent, and matches your channel’s vibe.
🧰 Step 6: Studio Accessories That Make a Big Difference
You don’t need to overload your studio, but a few handy tools will improve your workflow and viewer experience.
Useful Add-ons:
- Tripod: Keeps shots steady—Joby GorillaPod is great for flexibility.
- Gimbal Stabilizer: Smooths out camera motion, especially for walk-and-talk vlogs.
- External Monitor: Helps when you’re filming yourself—see framing and focus more clearly.
These tools improve camera angles, stability, and make your production setup cleaner and more efficient.
💻 Step 7: Editing Software and Computer Setup
Filming is just half the battle. Editing is where the real storytelling happens.
Top Editing Tools:
- Adobe Premiere Pro: Feature-packed for advanced users.
- Final Cut Pro: Mac-based, fast, and professional.
- DaVinci Resolve: Free and powerful.
- iMovie or CapCut: Beginner-friendly, drag-and-drop editing.
Your computer should have at least:
- 8GB RAM (16GB ideal)
- A good graphics card
- SSD storage for smooth playback
🎯 Pro Tip: Save often and back up your files—especially your B-roll and branding assets.
💾 Step 8: Storage and File Management
You’ll be amazed how fast your footage eats up space. Efficient file management keeps your projects organized and secure.
Storage Options:
- External Hard Drive (1TB+): Backup and organize your video library.
- Cloud Storage (Google Drive, Dropbox): Access files across devices and collaborate.
- SD Cards (64GB+ U3): Store high-quality 4K footage safely.
Organize your folders by project or episode for quicker access when editing.
🛠️ Optional: Green Screen & Studio Hacks
Want to take your content to the next level with custom backgrounds or immersive effects?
- Green Screens: Use chroma key effects in editing to appear anywhere you like.
- DIY Lighting with Desk Lamps: Replace bulbs with daylight-balanced LEDs.
- Use Foam Boards to bounce light and reduce harsh shadows.
These budget-friendly tricks help stretch your production value without overspending.
🧪 Real-Life Example: Starter Studio Setup Under $500
Taylor, a beginner lifestyle vlogger, built a fantastic home studio using:
- iPhone 13
- Clip-on lavalier mic ($25)
- Softbox lighting kit ($60)
- Tripod with phone holder ($30)
- Ring light ($35)
- Basic backdrop + decor ($50)
- iMovie for editing (free)
That’s a full setup for under $500—and her first video hit 10,000 views within a month!
🧠 Quick Checklist: YouTube Home Studio Essentials
✅ Quiet, controlled filming space
✅ Camera or smartphone with HD/4K capability
✅ Quality microphone (USB, shotgun, or lavalier)
✅ Lighting gear (ring light or softbox)
✅ Tripod or gimbal stabilizer
✅ Thoughtful backdrop
✅ Editing software
✅ External storage solutions
✅ Final Thoughts: Build a Studio That Works for You
You don’t need to build a movie set to be successful on YouTube. Start small, stay consistent, and focus on creating quality content. Your studio should reflect your content, personality, and creative goals. As your channel grows, you can scale up your equipment and refine your setup to match your audience’s expectations.
Remember, it’s not about having the most expensive gear—it’s about using what you have effectively. With a focused plan and the right essentials, your home studio can become the launchpad for your YouTube success story.

Larry Mac
Hi there, and thanks for stopping by! My name is Larry, and I’m the voice behind 6fig.com. I search the Internet to try and find Money making opportunities to share.. Thanks for stopping by, feel free to subscribe and comment. Thank You!
You Got This, I Learned these skills and More at Wealthy Affiliate. Hey if this 65 year old Grandfather can make money online, you can too!
This website got me on the path to making money online! Click Here to Start!